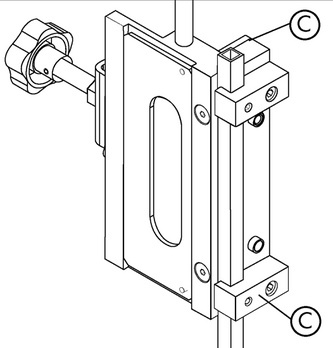
Milling jig and insert for door leaf
Milling jig and template for door leaf
MILJIG/TEMPLT-(F.DRWNG-RECESHNGE3D)
Art.-no.
0688396000
EAN 4038898581123
Prices for customers after login
Exclusively for trade customers
Register now and access more than 125,000 products
- For efficient installation of Insert 3D recessed hinges dia. 20 mm
- Can be used as an individual milling frame or can be assembled as a series jig
- Can be used on wooden doors with rebate space of 4 mm or 12 mm, with or without lip seal
Notice
If the milling jig is used as a series jig, the second or third milling jig should be positioned such the distance between the "A" markings corresponds to the required hinge spacing. We recommend making a test cut prior to the first installation.
Specified dimensions not binding. Subject to technical changes!
Product information
Datasheets(X)
Instructions
Steps for using a milling jig:
- 1. Place the door leaf in the door frame
- 2. Add upper rebate space (min. 4 mm); there must be no rebate space on the hinge side (milling jig includes 4-mm rebate space)
- 3. Define the hinge location and mark the hinge reference line (centre hinge) on the door leaf and door frame
- 4. Determine the lip thickness. (To guarantee the stability of the milling jig for a lip thickness of 18 mm, we recommend using the supplied stick-on spacer pieces.)
- 5. Clamp the milling jig on the door leaf. (Align the marking on the door leaf and the notch on the milling jig.)
- 6. Insert the plate carrier in the milling jig and make the first cut (stop ring: 30 mm diameter, milling jig: 20 mm diameter, milling depth: 50 mm)
- 7. Release the milling jig and repeat the process at the next position
- 8. Clean the recesses
- 9. Insert and secure the hinges
- 10. Insert the door leaf in the frame and check it works
 | |
Material | Aluminium |
Surface | Plain |
DIN direction | DIN R/L |
Select RAL-colour code
!! NOTE: On-screen visualisation of the colour differs from real colour shade!!


